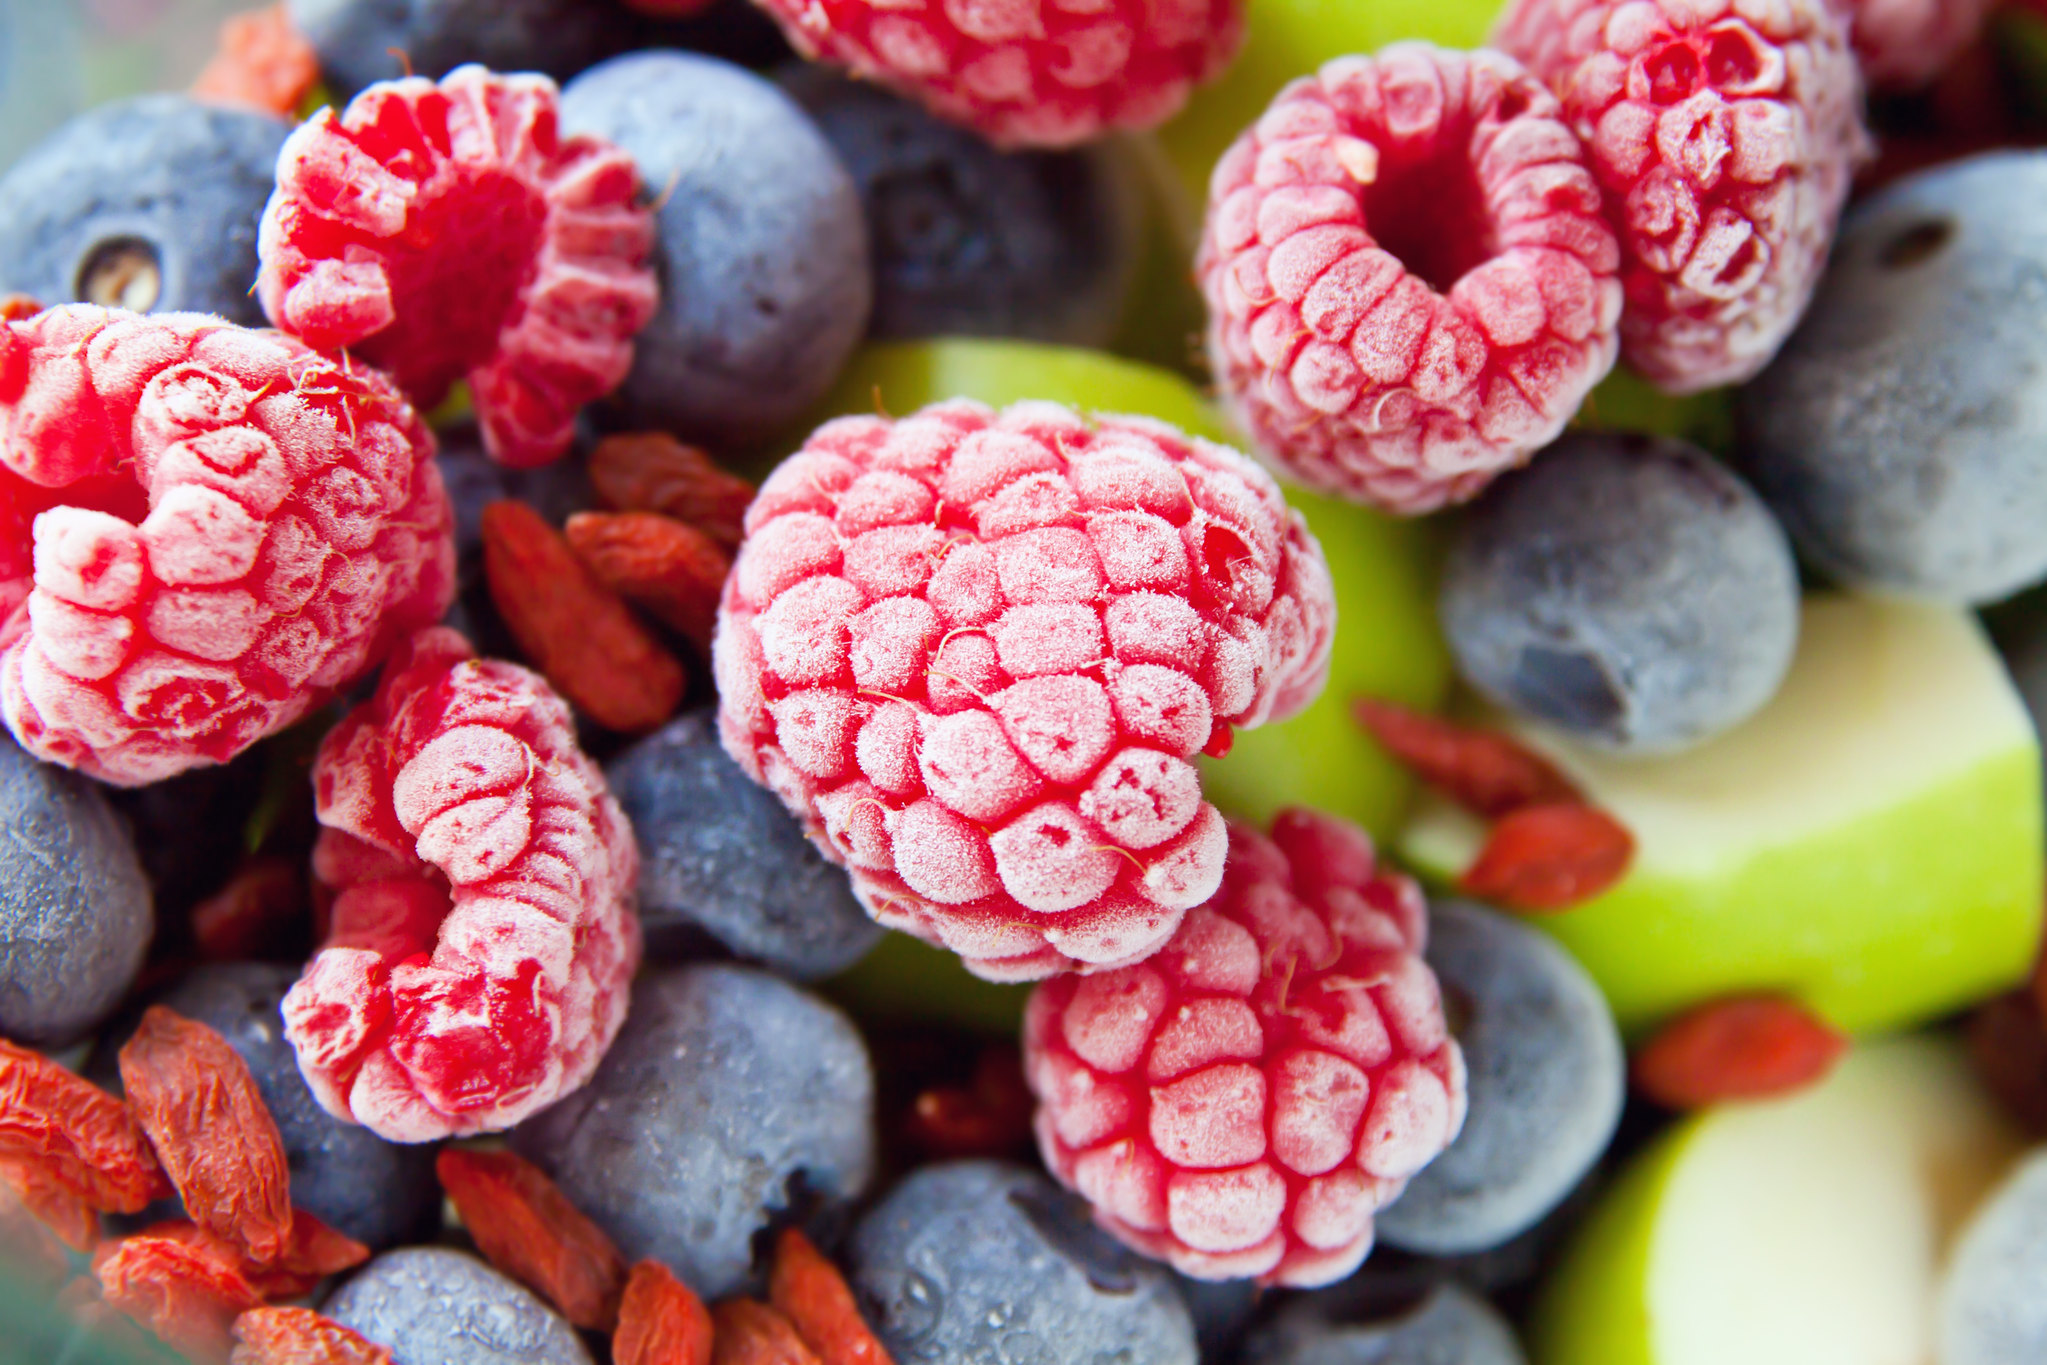

Frozen food! So convenient, so easy! And also, sometimes, pretty expensive :/ but good news! If you’ve got access to fresh produce, a freezer, and a bit of time, it’s super cheap and easy to prep your own frozen fruits & veggies!
The basics:
- Always wash your produce, and dry it thoroughly before freezing.
- Most fruit and vegetables freeze extremely well, with the notable exception of things that are mostly water, like cucumbers, lettuce, and watermelons.
- Before freezing, cut things into uniformly sized pieces.
- When you’re ready to freeze, line a baking sheet (or anything flat that will fit in your freezer) with a piece of parchment paper and spread your produce over it in a single layer, making sure the pieces aren’t touching. This allows the pieces to freeze separately from each other, so that when the time comes you can defrost only what you need.
- Once the produce is fully frozen, transfer it to a freezer bag, label and date it, and move on to the next batch!
- Generally speaking, frozen fruit and veggies can keep for 8 to 12 months (with the exception of citrus fruit, which is only recommended to freeze for up to 3 months).
Regarding freezer storage: one of the things that causes Freezer Burn is air pockets, which is why we recommend freezer bags instead of tupperware or other containers. These bags definitely don’t have to be single-use – freezer bags are very thick and tough, so they can easily be washed and reused again and again 😀
For Veggies:
- Most vegetables freeze extremely well, albeit after blanching. Onions and peppers can be frozen without blanching. Tomatoes can freeze extremely well, but they require extra prep work.
- Blanching helps frozen veggies retain their colour and firmness. To blanch vegetables, first cut ’em into uniformly sized pieces, and then dunk ‘em in boiling water (or steam, for broccoli, winter squash, and sweet potatoes) for a short time and then immediately move them to an ice water bath for as long as they were boiled or steamed. Most vegetables have different times for best blanching, so while you can just blanch everything for about 2 minutes (that’s what we do), for optimal results you should check online for the specifics about whatever you’re preparing to freeze.
- After the ice-bath, dry the veggies carefully and resume step 4, above.
For Fruit:
- Fruit freezes incredibly easily and well! You mostly just need to wash, dry, and slice it up prior to freezeing.
- If you want to prevent browning (in things like apples, peaches, nectarines and apricots), you can dip the fruit in a lemon-water bath (1 tablespoon of lemon juice in 4 cups of water) before freezing.
Some produce items don’t fit in to the general instructions above, including:
- Bananas freeze extremely well in their peels, but subsequently the peels can be difficult to remove. If you’re planning on using whole bananas, and have time to thaw them (like for baking applications), you can freeze them whole, but maybe also consider peeling and slicing them and freezing the individual pieces like other fruit.
- Stone fruit can get a bitter taste from leaving their pits in prior to freezing – so be sure to remove the pits from cherries, nectarines, peaches and plums before freezing.
- Tomatoes are best when their skins are removed prior to freezing. Simply cut an “X” in the top of the tomato and immerse it in boiling water for about 30 seconds. At that point, the skin should come off very easily, and you can either scoop out the seeds and freeze them individually (as described above), or make a simple sauce and then freeze that in bulk.
Now get freezing!
For additional resources, you can start with this great page from the David Suzuki Foundation.